
Interior Design
Room Visualizer
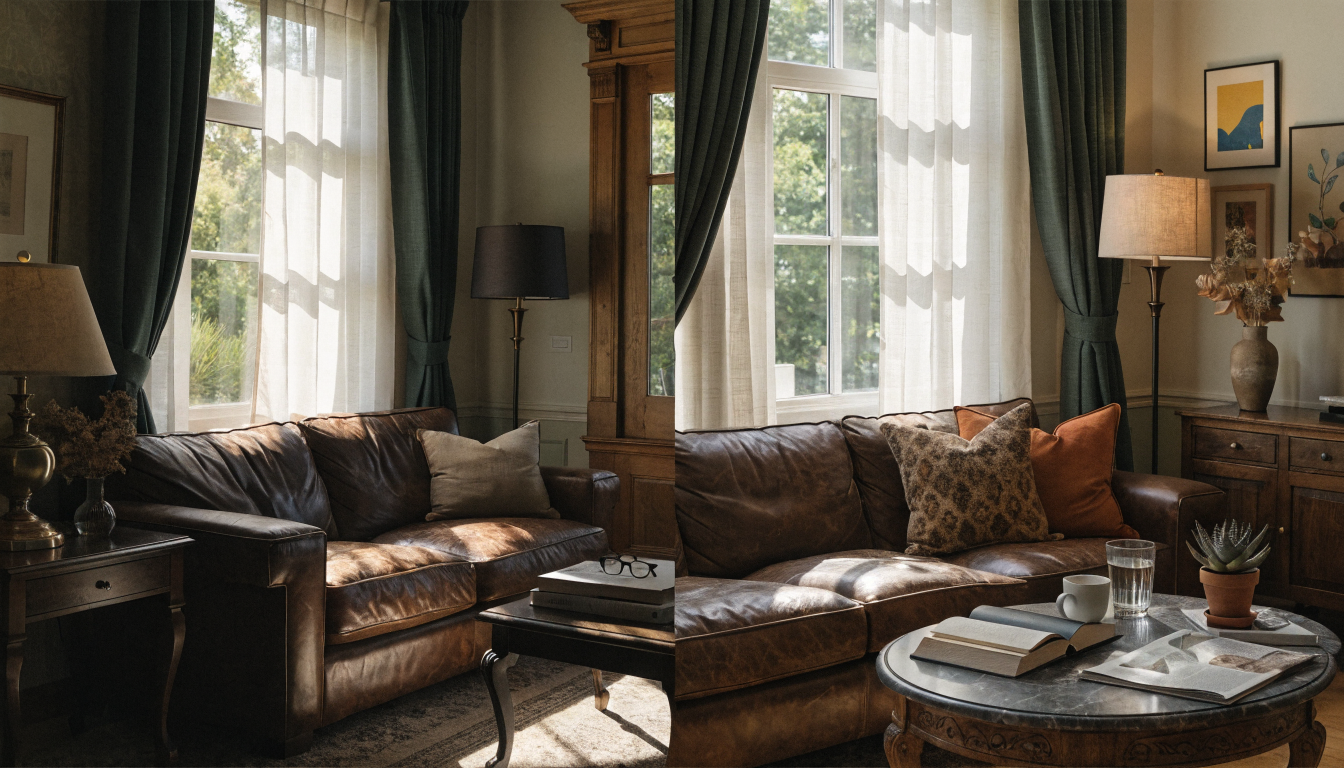
Snap one photo of your room and see a restyled version in seconds. Iterate on a single space, compare before and after, and lock in a look before you buy a thing.

— How to use
Three steps,
start to finish.
No CAD training, no mood-boarding rabbit holes. A photo in, a photoreal render out.
01
Snap the room from a corner
Stand in one corner, shoot the opposite wall, and capture the full floor and ceiling in frame. A single wide shot gives the AI the footprint and light it needs.
02
Pick a style and focus points
Choose modern, mid-century, coastal, Scandi, or transitional. Call out the couch, rug, or feature wall you want restyled first so the render prioritizes those pieces.
03
Compare, tweak, save the look
Flip between the original photo and the restyled render, swap palettes with plain-language edits, and save your favorite as the reference for shopping or a contractor.
— Pro tips
Better briefs,
better renders.
Six habits that consistently produce sharper, more believable, more useful output.
Tip · 01
Use high-quality photos
Upload sharp images shot at 1024px or larger. Well-lit, in-focus photos produce sharper, more realistic output.
Tip · 02
Lighting matters
Even, natural daylight reads best. Avoid harsh shadows or overly dark corners — the model infers material from light.
Tip · 03
Try multiple styles
Run the same room through two or three directions before locking one. You often discover a look you hadn't imagined.
Tip · 04
Clear the clutter
Minimal clutter lets the model understand room structure. Tidy visible surfaces before you shoot.
Tip · 05
Shoot multiple angles
Generate from the door, from the window, from the corner. The best angle is rarely the first one you try.
Tip · 06
Save and compare
Keep a project for each space. Compare variants side-by-side, share them with contractors, and refine from there.
— Features
Everything you
need, nothing you
don't.
Capabilities designed to move a single decision from guesswork to clarity.
Feature · 01
Restyle one room from a single photo
Upload one photo of a single room and get a fully restyled render in under a minute. Focused on one space at a time, which makes it faster to iterate than a whole-home tool like the home redesign AI.
Feature · 02
Flip between before and after instantly
See the original photo and the restyled version side by side so you can judge the change at a glance. Helpful for partners, clients, or yourself before committing, and pairs with the redecorate room tool for quick refreshes.
Feature · 03
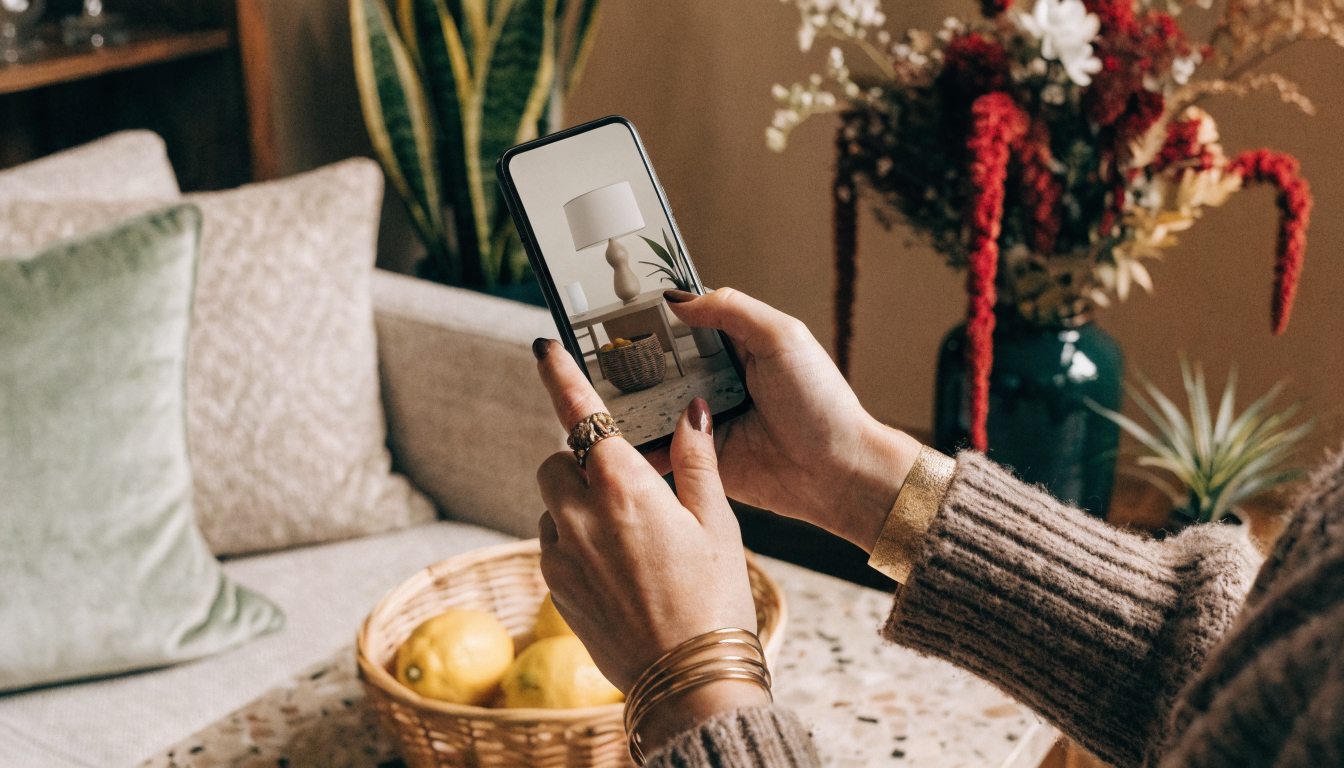
Iterate fast with plain-language prompts
Type what you want different. Darker walls, warmer wood, a bouclé sofa instead of leather, and the render updates without redrawing the layout in the AI interior design workspace.
Feature · 04
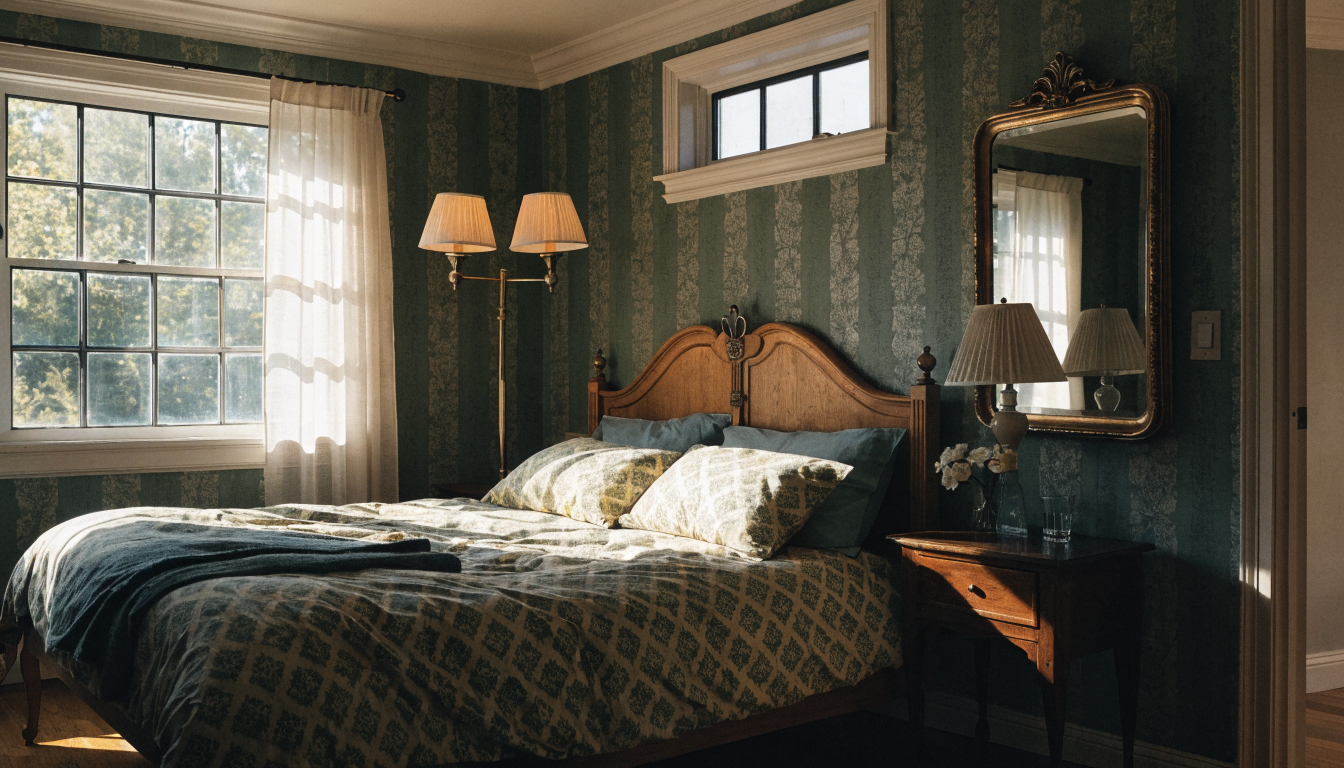
Visualize any room in the house
Works on living rooms, bedrooms, dining nooks, and home offices with the same photo-to-render flow. Switch rooms and keep the style consistent using the design your own rooms tool.
Feature · 05
Take the final look into staging or shopping
Lock in a restyled render, then use it as the brief for furniture shopping, a contractor, or a listing photo. Works hand in hand with the virtual staging tool when the room is being prepped for sale.

— FAQ
Room Visualizer,
answered.
Updated April 2026
A room visualizer is a tool that turns a photo of your room into a restyled render. You upload one picture of the space, pick a style, and see how the room could look with new furniture, colors, and finishes in under a minute.
This tool focuses on one room at a time and the photo-to-render loop. You snap a single space, generate a before-and-after, and iterate quickly. Whole-home planners cover more ground but are slower to refine a single room in.
No. The AI reads the footprint and light from the photo. Measurements help if you are going to order furniture off the render, but they are not required to generate the first restyled version of the room.
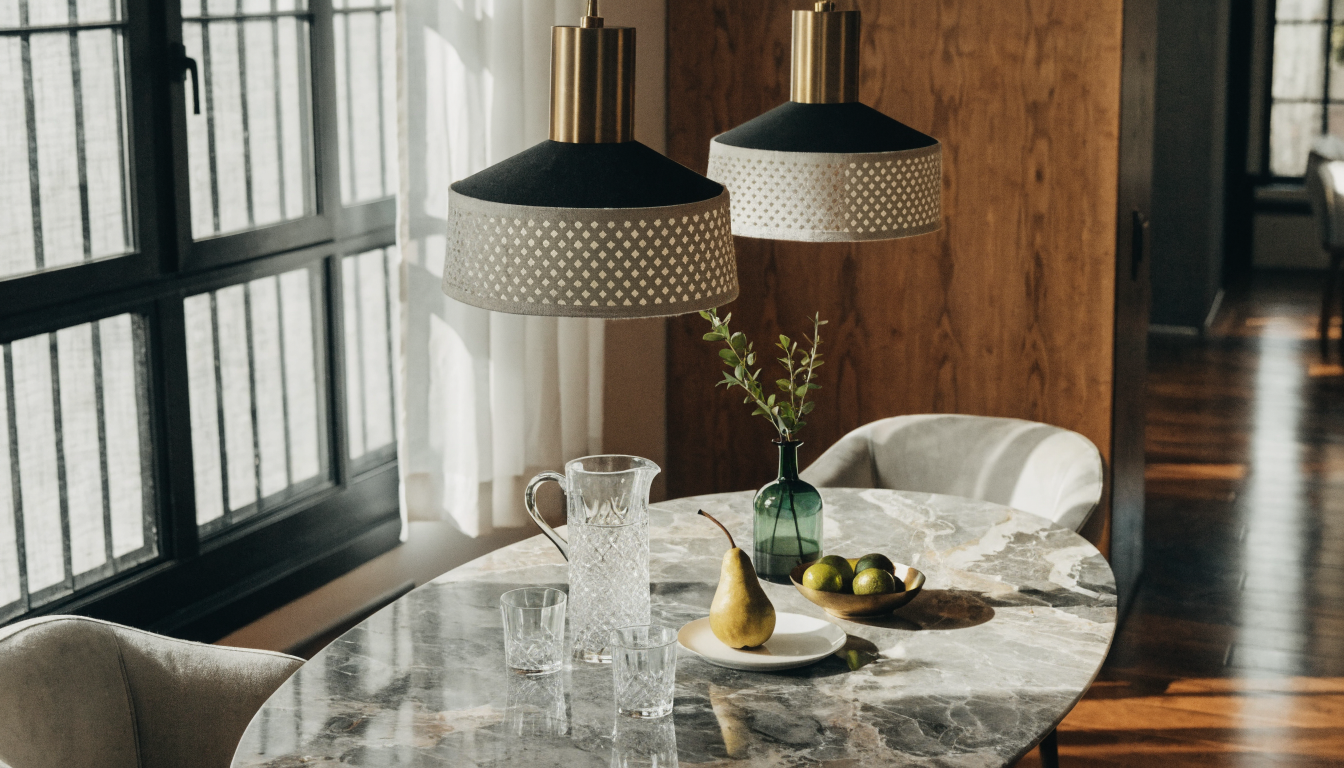
Living rooms, bedrooms, dining areas, home offices, and entryways all work. Anything with clear wall, floor, and ceiling planes in the photo. Kitchens and bathrooms render best when the core cabinetry is visible in frame.
Yes, as a shopping brief. The render gives you a look, a palette, and specific pieces to search for. Match silhouettes and materials at the retailer of your choice rather than expecting exact SKU matches from the AI.
By default it restyles around your existing layout: same wall positions, same window locations, same footprint. Ask for a layout change explicitly in the prompt if you want the sofa moved, a wall opened up, or the bed rotated.
Yes. Upload the room once, then generate a modern version, a mid-century version, and a Scandi version from the same photo. Compare the three side by side before committing to the style you want to live with.


Room Visualizer
is a render away.
Start for free — no card, no commitment. See your space the way it could be, before you commit to the way it will be.
Try Room Visualizer free →Available on the App Store — Android coming soon.
Free trial
See your space